
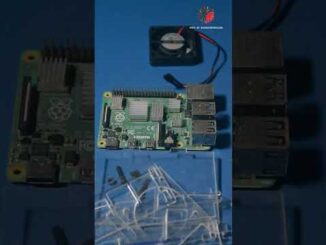
I set up a Raspberry Pi as a Home Assistant control board.
I also set it up to run a CarPlay display on my old Toyota.
Thanks to Raspberry Pi for sending the Touch Display 2 for testing. They did not pay anything for this video nor did they have any say in its contents. See my sponsorship policies:
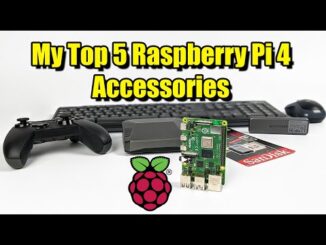
Here are some of the products and projects I mentioned in this video (some links are affiliate links):
– Raspberry Pi Touch Display 2:
– My 3D Printed Stand:
– My video on Home Assistant Setup:
– My Pi Kiosk GitHub project:
– React CarPlay project:
– Carlinkit USB CarPlay Adapter CPC200-CCPA:
Some of the other touch displays I mentioned in this video:
– EDAtec HMI Displays:
– Seeed Studios reTerminals:
– Chipsee 10.1″ Industrial Panel PC:
– BIGTREETECH Raspberry Pad 5:
Support me on Patreon:
Sponsor me on GitHub:
Merch:
2nd Channel:
3rd Channel:
Contents:
00:00 – Control all the things
00:30 – Touch Display 2
02:15 – Other, better touchscreen options
03:23 – Not a tablet replacement
04:40 – Home Assistant Kiosk
06:00 – Remote control
06:37 – CarPlay display
08:23 – Not perfect, but useful
Hi, can we control mobile camera using pi, without android board, how?
I have not looked ahead in your videos yet, so I don’t know the real progress made on the car stereo. With that being said… You can use this display but take your stereo out every time, MacGruber style.
The same project but with the AMOLED screen from Wave share would be perfect any reason it wouldn’t work ?
Why use this instead of a tablet?. If you plan to use hass, a cheap Android tablet is enough and made with the touchscreen in mind.
I’ve been using a Pi 4 as an Octoprint server for my 3D printer, however last year I decided to switch from Marlin to Klipper firmware. Unfortunately Klipper didn’t support the LCD screen + control knob that my printer came with. I ran it without a display for a while, but I wasn’t really happy with the setup; I really wanted an on-printer display showing status and allowing me to do basic printer control. I found the KlipperScreen project which looked like it did what I wanted, so now I had to go looking for a touchscreen. I didn’t want to use the Raspberry Pi one because a 7 inch screen hanging off the side of my printer seemed like it would be too big. On the other hand 3 inch screens (which are commonly available) seemed too small. Fortunately I was able to find a 5 inch Pi touchscreen which felt “just right” to me. Like the official screen it had pre-installed standoffs to mount the Pi on the back of the screen. And I modeled a kinda janky angle bracket thingy to mount the screen + Pi sandwich to the side of my printer, where the screen it originally came with mounted. Surprisingly I didn’t have any trouble getting the screen going, it actually came with fairly readable instructions and the configuration files they provided worked out of the box. The setup has been running perfectly for a little over 2 years now.